I hope this is in the right section.
Anyway, I decided to do a tutorial on the basics of Sony Vegas. Sony Vegas is currently my video editor of choice. I switched to Sony Vegas after Windows Movie Maker gave me too many problems. I almost never experience problems in Sony Vegas.
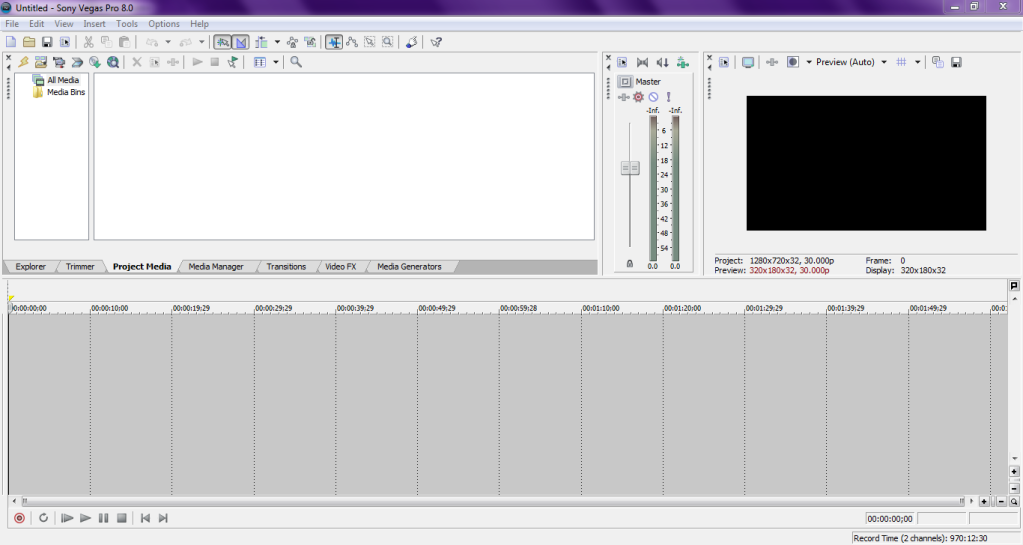
This is the mainscreen of Sony Vegas. Obviously if you try to use Sony Vegas after being used to Windows Movie Maker, you might be in for a bit of "culture shock", if that term applies here. Sony Vegas is very different than Windows Movie Maker and it can be difficult to get the hang of at first. But once you learn the basics and what certain things are, it becomes easy.
Instead of using the Trimmer, use the S key to cut a clip. And when speeding up or slowing down a clip, simply hold down Ctrl and use the cursor to click and drag the clip (making it smaller will increase speed and making it longer will slow down speed). And to make a clip fade in/out, move the cursor to a corner of the clip until you see a half-circle symbol and drag it over. And if you want to reverse a clip, simply right click and select Reverse.
Another thing to keep in mind is that Sony Vegas will not divide a clip for you. You must manual do it, which is easy. Simply drag in the clip you want to divide, use the S key to cut it into as many parts as you want, right click on each one, and select Create Subclip. Keep in mind, though, that you must not remove the original clip, otherwise the subclips will disappear.
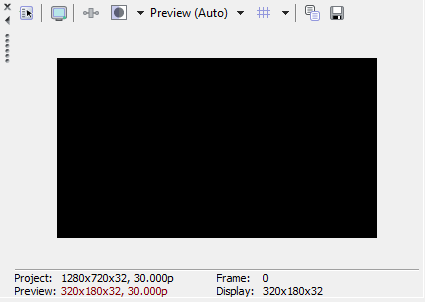
This is the preview screen. It will display whatever the marker in the timeline is on. You can resize the preview screen to be as small or as large as you want it to be. You can also use the symbol that's the furthest to the right to take screenshots of the video displayed in preview.

This is the master control volume. Changing the volume on this will effect all audio clips in Sony Vegas.
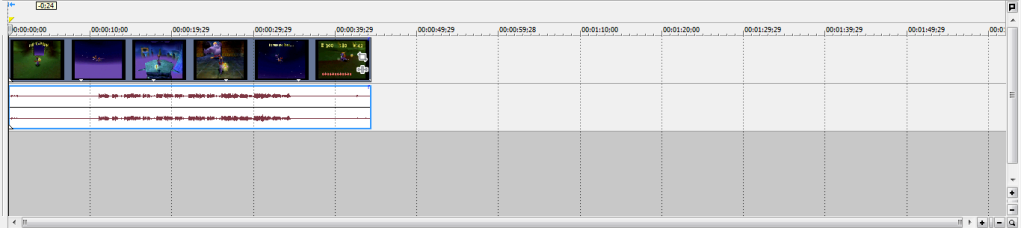
This is the timeline. This is where audio clips, video clips, media generators, and pictures will be placed.
Sony Vegas allows you to put in as many audio and video tracks as you want. Tracks are similar to Layers in Photoshop; changes you make to one track will not effect another track. Simply right click and click either Insert Video Track or Insert Audio Track. The tracks play a big part in being able to pull off more complex stuff than you ever could in Windows Movie Maker.

These are the controls to the timeline. You can use them to preview a video in the works, much like how Windows Movie Maker allowed you to do the same thing.

This is the time for the timeline. It can be used to measure time on certain points of clips and to see how long a video currently is.

This sidebar on the timeline, which you can get from dragging the left side over, allows you to control the opacity of the video and the volume of the audio.

These navigation tabs hold different features of Sony Vegas. I'll only talk about the ones I use. I currently use: Project Media, Transitions, Video FX, and Media Generators.
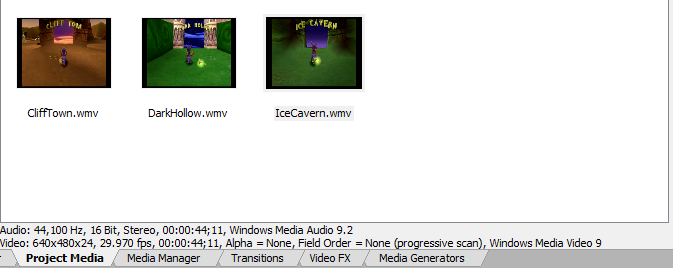
This is the Project Media area. All the stuff you import into Sony Vegas will appear in here. To use stuff from Project Media, simply click the item you want and drag it into the timeline.
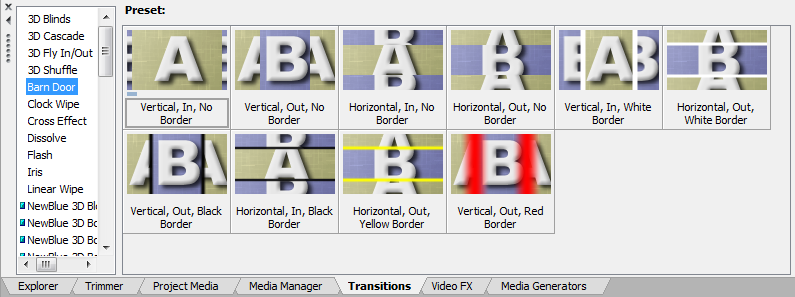
This is where the transitions of Sony Vegas are located.