Thank you again for making this amazing picture for my birthday! It is drawn really smoothly and the lines look good and sharp. Also, the shading is one of the best ones I've seen from you! To be honest, I don't see any major geometrical errors so they're probably jot that serious. This picture is truly impressive and it's probably the one of your smoothest drawn pictures. Great job here!
Thank you and your very welcome! I wasn't sure what I was going to draw at first but your avatar gave me the idea for the challenge. Your birthday wasn't too far off at the time either so I decided on making it a surprise.
I did put a lot more effort into shading this time around, using different amounts of shading depending on how exposed each spot is. I think I could have put some more work into it still but I'm satisfied with how it looks.
The geometrical errors probably stand out to me more since I was the one drawing them as well as staring at them for hours. One example is near where the skinny portion connects with the main body and wings. The line isn't parallel to the other lines that are further down.
You are one awesome artist! Like Sovereign said, this is one of the best art pieces you ever made! The ship looks awesomely drawn, the shading is perfect, and the details are spot-on! I love this awesome art piece! Instead, let's call it masterpiece! Awesome job with this!
Oh man. The praise... it's too much to handle. Thank you!

----
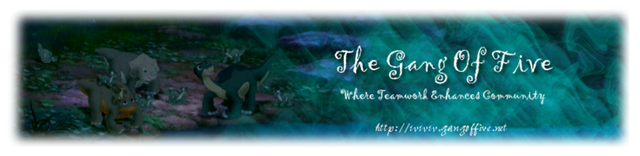
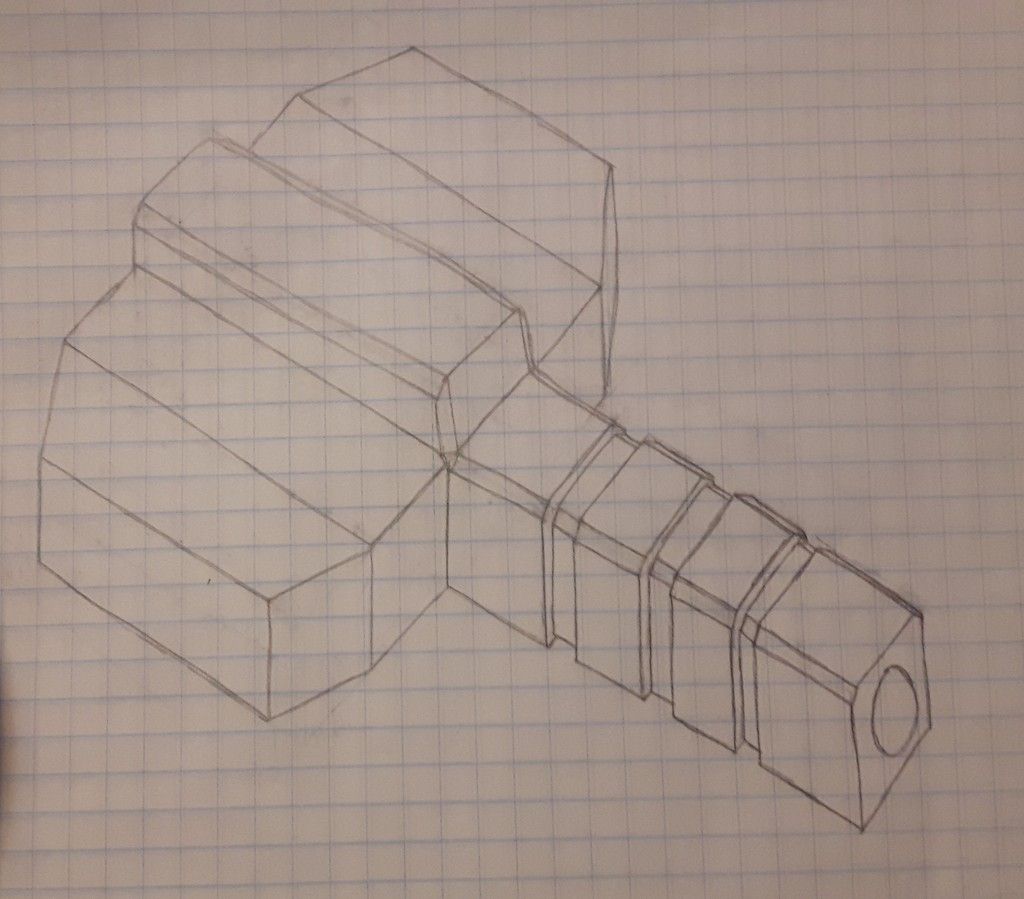
As complicated as this drawing is, all it really comes down to is adding and shaving rectangles, triangles, and cylinders, all of which are fairly easy to draw on their own. If you guys are interested I did a quick example of how I started this drawing. Maybe it might help someone down the road with planning their own drawings.
First I just started with a long rectangle. I then drew a line on the top part roughly half way and 'cut down' into the rectangle. This will be the basic shape of ship's hull.
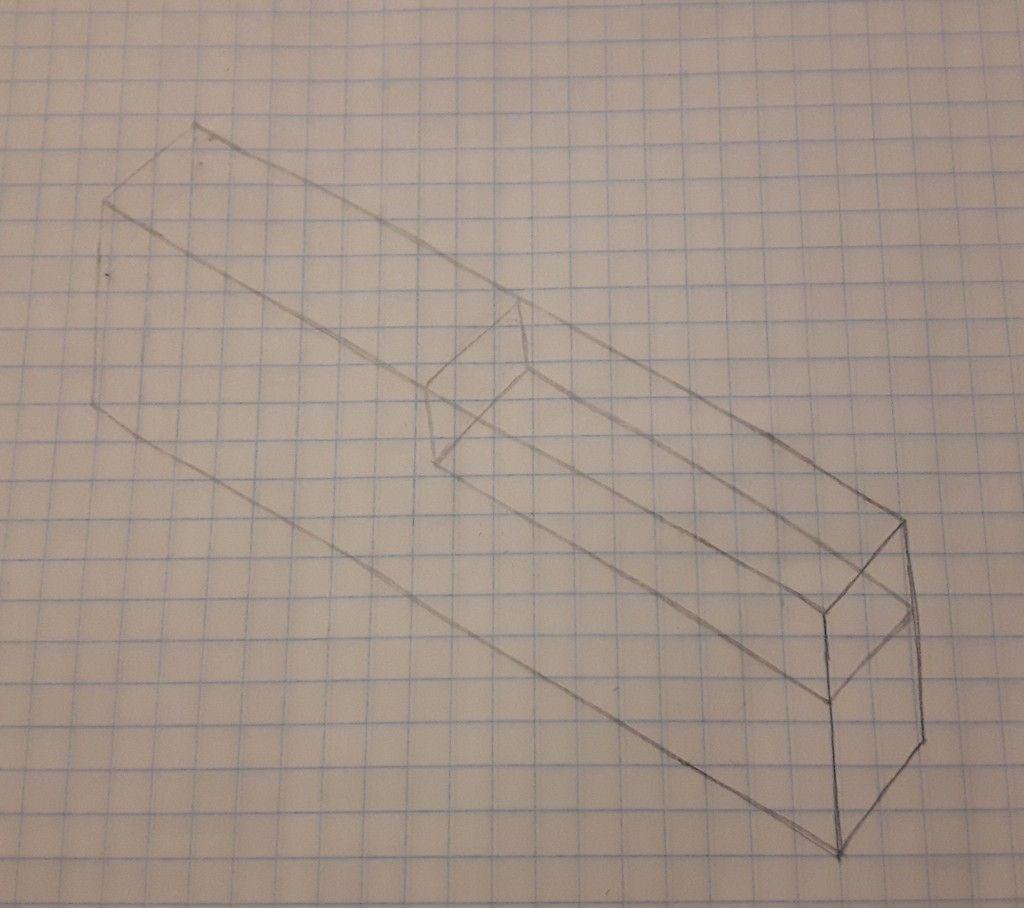
For the next part I first erased my unused lines. Next I drew 3 strips in the front part that are going to be indented. For the back section I added in lines (dotted in this case for clarity) to show parts of the rectangle behind the obstructed view. This will help for extending the wings.
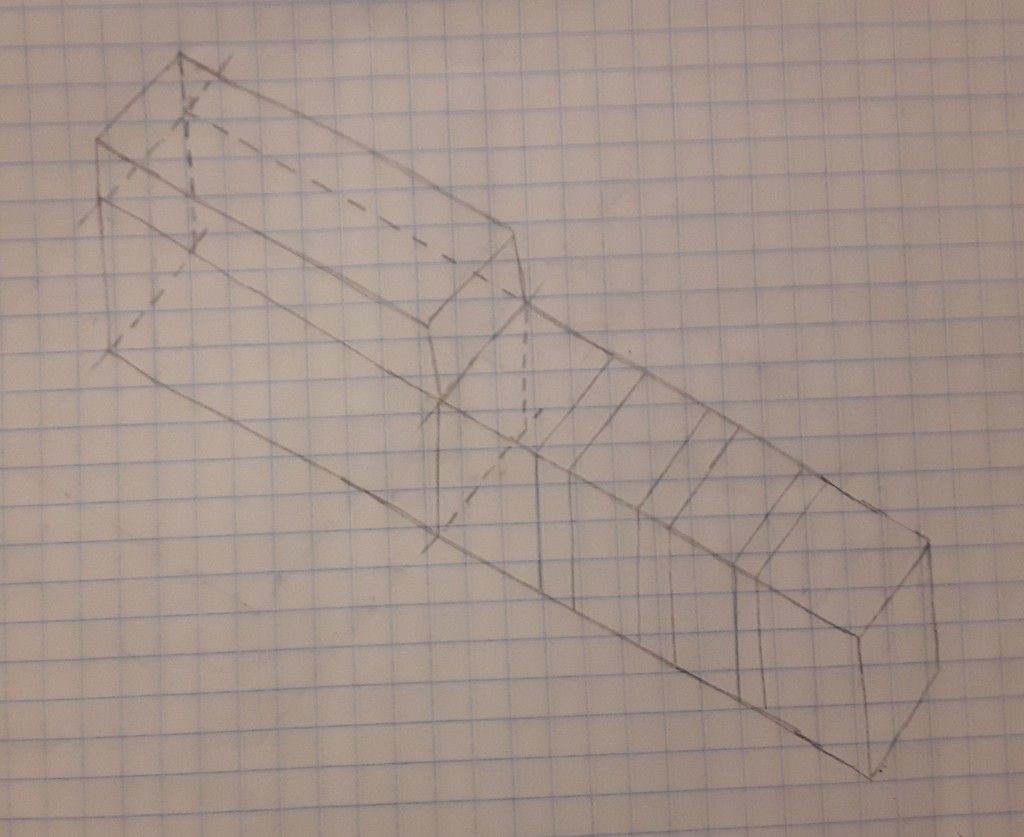
Now the wings are extended out as rectangles. I marked a line down the middle of each wing to show where it is going to narrow. For the 3 strips I erase the edges of them and drew the rectangle slightly smaller inside of them to give that indented look. I also drew lines on either side of the top corners of the ship. This is to essentially cut off the edges to give the rectangle a slightly rounded look (the center line just needs to be erased, shown in the next image).
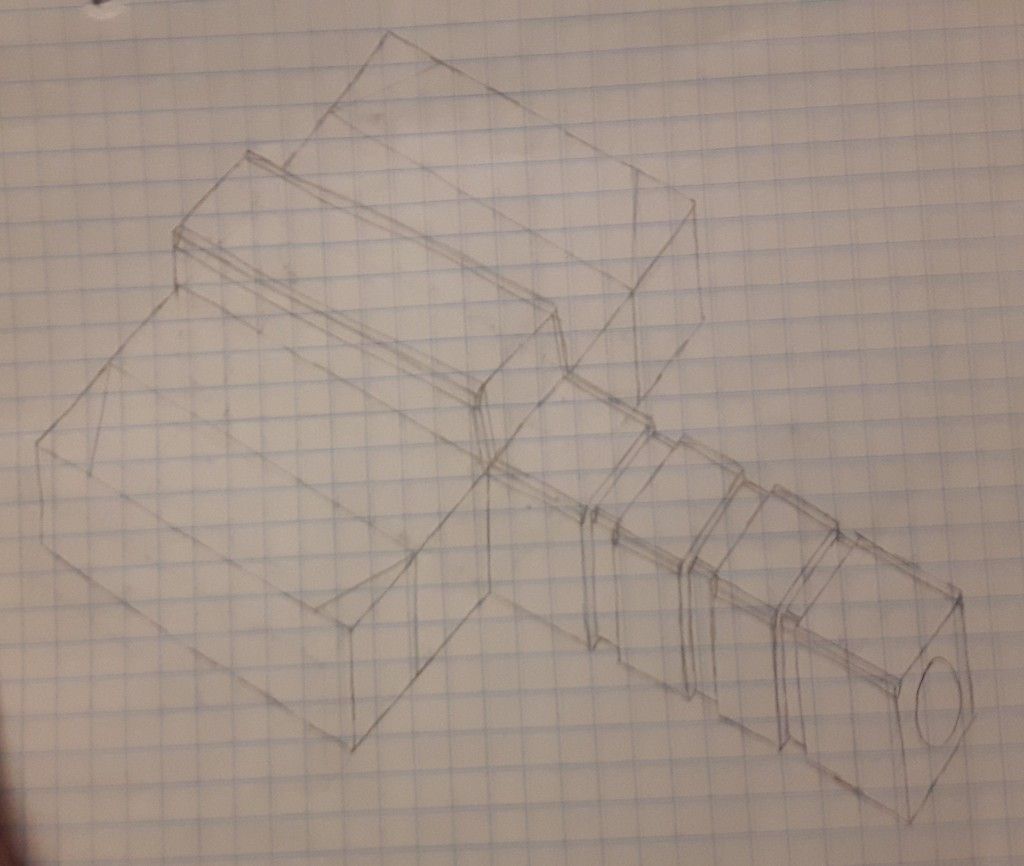
Finally I just erased the sections of the wing to get this result. From here I just followed the same idea expanding out the ship to the desired shape then filling in all of the smaller details.