From what I've seen so far, I think I prefer ripping from DVDs. I find it easier. Just pop it into the computer, get the right program, and rip and that's it. Even if I wanted to rip from a VHS, I could not for two reasons. The price (I need to avoid spending too much money) and the fact that all our VHS is in the shed and it would be extremely hard to get them because they are way in the back and the shed is stuffed to near full capacity, with very little room left.
Mine are all on a shelf. You seriously can't beat that convenience.
Anyways, on to the rest of this guide.
Now, after it's done installing, you go into the program.
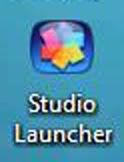
As you can see from the Icon, it's called Studio Launcher. Double-Click on it and this screen pops up:

Click on the Quick Start Button and wait for it to load.
When it's done, this is what you'll get:

We're not going to get into this yet, but know that this is the typical Edit Screen. You simply use it to Edit your video.
I first go to the Capture Screen:
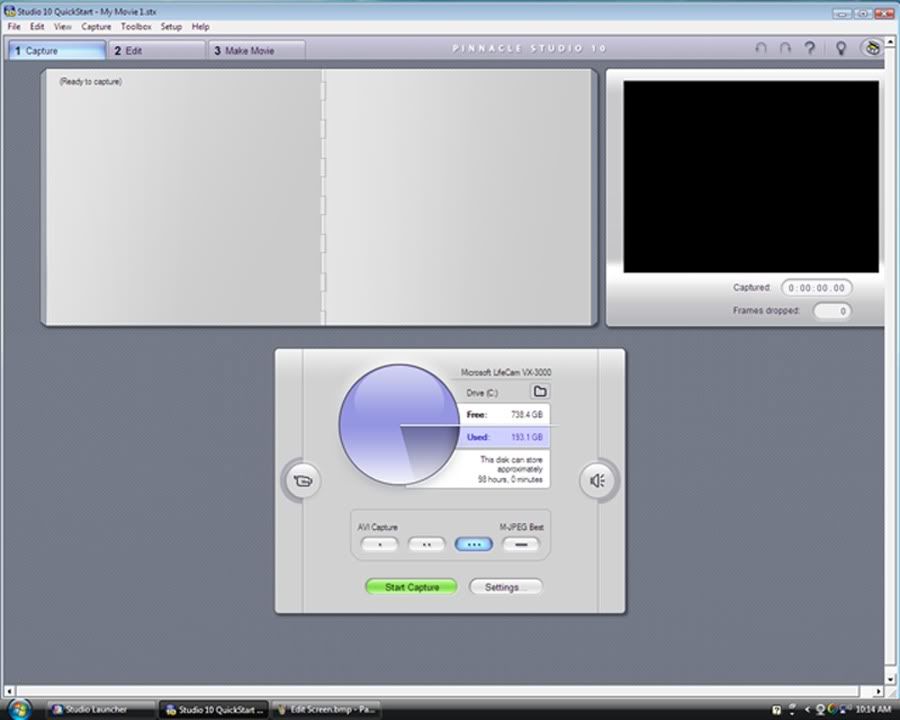
Now, here's where some real work comes in when you first install it. You have to set it up for it to Capture the video and audio from the Converter. You simply use the Settings Button and it's rather easy from there.
You can also set the Quality of the video you are going to be capturing. With a simple click of a button, you can make it Good, Better, Best or Custom Quality. Remember, the higher the quality, the more space the Captured Video File will take up.
When everything is set up and ready, you hit Play on the VCR and when it's at the spot you want to start capturing, you click on the Start Capture Button. A pop-up will appear and you just hit Start Capture.
Now, while it's capturing the video it is very important to LEAVE IT ALONE! Any interference could lead to problems like skipped scenes or the audio being out of sync.
When you have captured all you want to, click on the Stop Capture Button and go to the Edit Screen.
When it's done converting the scenes, it'll look like this:
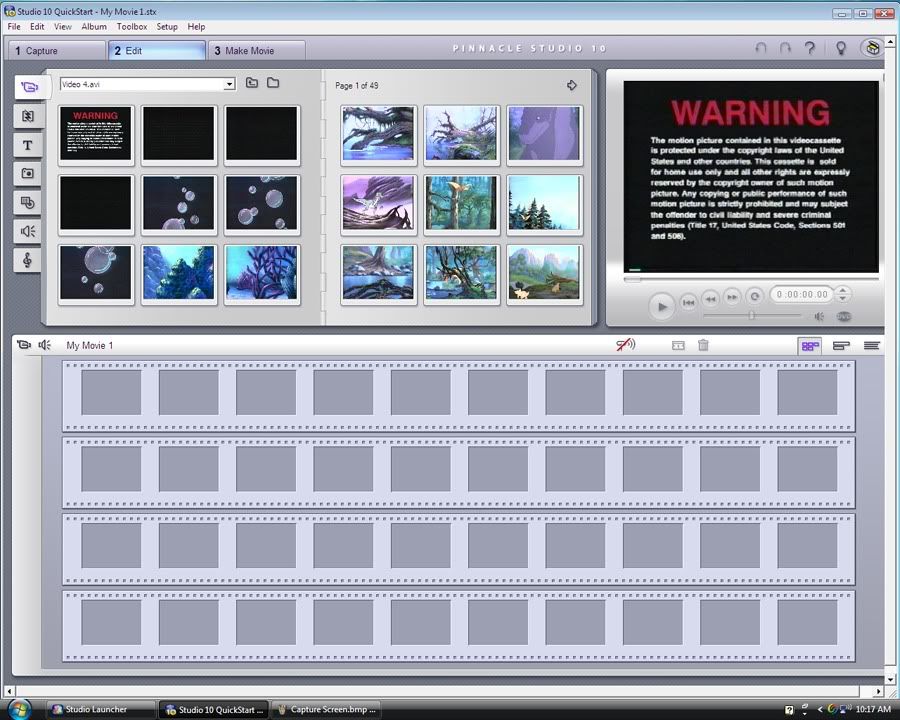
Now here, there's plenty of things you can do. You can add effects, add text, add other audio or even capture a screen shot. However, for the sake of this guide, we'll just put the scenes we need into the bottom screen to be converted. Make sure to put them in order.
After that, you click on the Make Movie Button:
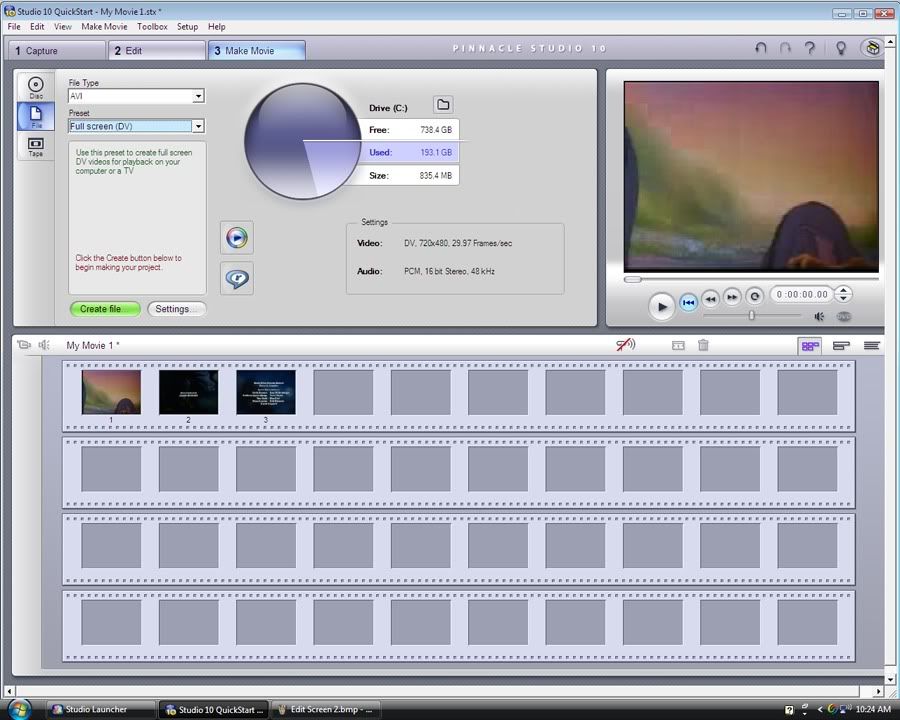
Now, here's where variety and convenience REALLY come into play. You start out with their version of AVI, which makes a simple 4 minute video a whopping 835 MB. At least you can change it easily. I've got all sorts of codecs to work with.
Here's what I usually have:
AVI
DivX
iPod Compatible
MPEG-1
MPEG-2
MPEG-4
Real Media
Sony PSP Compatible
Windows Media
The DivX is what I usually go with, and it easily makes the 4 minute video into around 8 MB. However, as you can see, there's a ton I can do with this, and for my own purposes, I can go with a different format for whatever reason needed.
AVI takes up the most space, (Making a normal LBT video be at least 16 GB.) but holds a nice amount of variety. It holds Full Screen DV, Full Screen MJEPG, Medium, Small or Custom. The bigger the size, the more space it takes up.
DivX is your normal, typical .avi format. Anyone who's seen .avi format pretty much knows it. This program though can change the size of the screen, thus changing the amount of space it can take up. Small, Medium, Full Screen or Custom are your basic options here.
iPod Compatible is quite the amazing little feature. If you have an iPod that supports video, you're golden in easily getting a movie the watch right on it. That's the main purpose of it. You have the choice of either Small File Size or Full Screen.
MJEPG-1 is for those who want to give their video a more nostalgic feel. Here, I can make it Video CD Compatible, VHS Quality, Small or Custom.
MJEPG-2 is where things start to get more high tech. This program was making HD before HD became something big. Here, I can make it DVD Compatible, SVCD Compatible, or go HD.
MJEPG-4 is for when you want to send files through e-mail. Here, you can make it Very Small, thus making the 4 minute video only 2 MB, or higher. You can go all the way to HD. Yes, this makes it possible to send HD files through e-mail.
Real Media is for when you have Real Media Player as a video viewer and want a rather small file size. Surprisingly, a 4 minute .rm video is under 1 MB.
Sony PSP Compatible. What can be said about the Sony PSP? Video and games wherever you go. Imagine getting a whole movie onto it. Plain and simple, right?
Windows Media makes the file .wmv. Rather self explanatory there and we pretty much all know it. However, with this version, there's a wide variety of HD to present with. I could go crazy with it.
And from all this, you can choose to put it as a File, a Disc or a Tape. (Last one is if you have the equipment for that.) Of course, I just use the File.
When you have it set up, you hit the Create Button and you are done.
And that is how I make VHS into AVI.
Quite a bit I go through, huh?
")

 The forum should now be back up and running. Please don't hesitate to let us admins know if you run into any issues.